JewelMatch user manual
Installation
1. Hardware setup
We recommend to set up your JewelMatch device on your desk next to your computer screen.
2. Power supply
Connect the power supply and turn on the device.
Info
Please only use the provided power supply. Non-homologated power supplies could cause damage to the device, which will void the warranty of the lease agreement.
3. USB connection
Connect the device to a USB 3 port on your PC with the provided USB cable.
Info
Please only use the provided USB cable. Lower quality USB cables can result in a slow down or loss of comunication between the PC and the RoughMatch device.
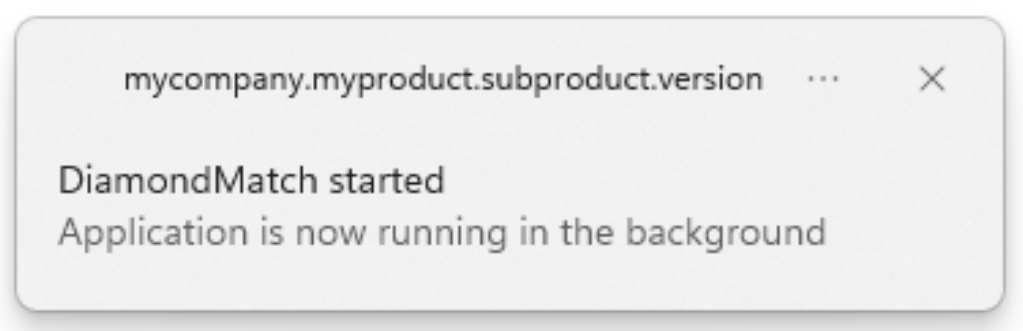
4. Software
Start the DiamondMatch program. You will see a pop-up stating that the program has started.
Info
If you have ordered a PC with your JewelMatch device, the DiamondMatch program is pre-installed and located on the destkop.
If you need to install or update the program, open this link, sign in with your credentials and download and install the latest DM Service.
Please refer to account management in case you have trouble signing in.
In case your computer was not provided by Spacecode, you will also need to download and install the Galaxy Windows SDK. The software is free but requires you to create an account in order to download it.
Fingerprinting
To fingerprint a diamond, click on DiamondMatch → JewelMatch → Fingerprinting in the side bar or open this link
Please make sure that the device is turned on and that the DiamondMatch program is running, and follow the instructions on the screen.
Info
Every diamond is linked to a SKU at fingerprinting under which it can be found in the inventory, and against which it can be authenticated.
- Place the jewel on the holders of the JewelMatch machine.
- Fill the SKU input field and the Gem Type field (if it is available)
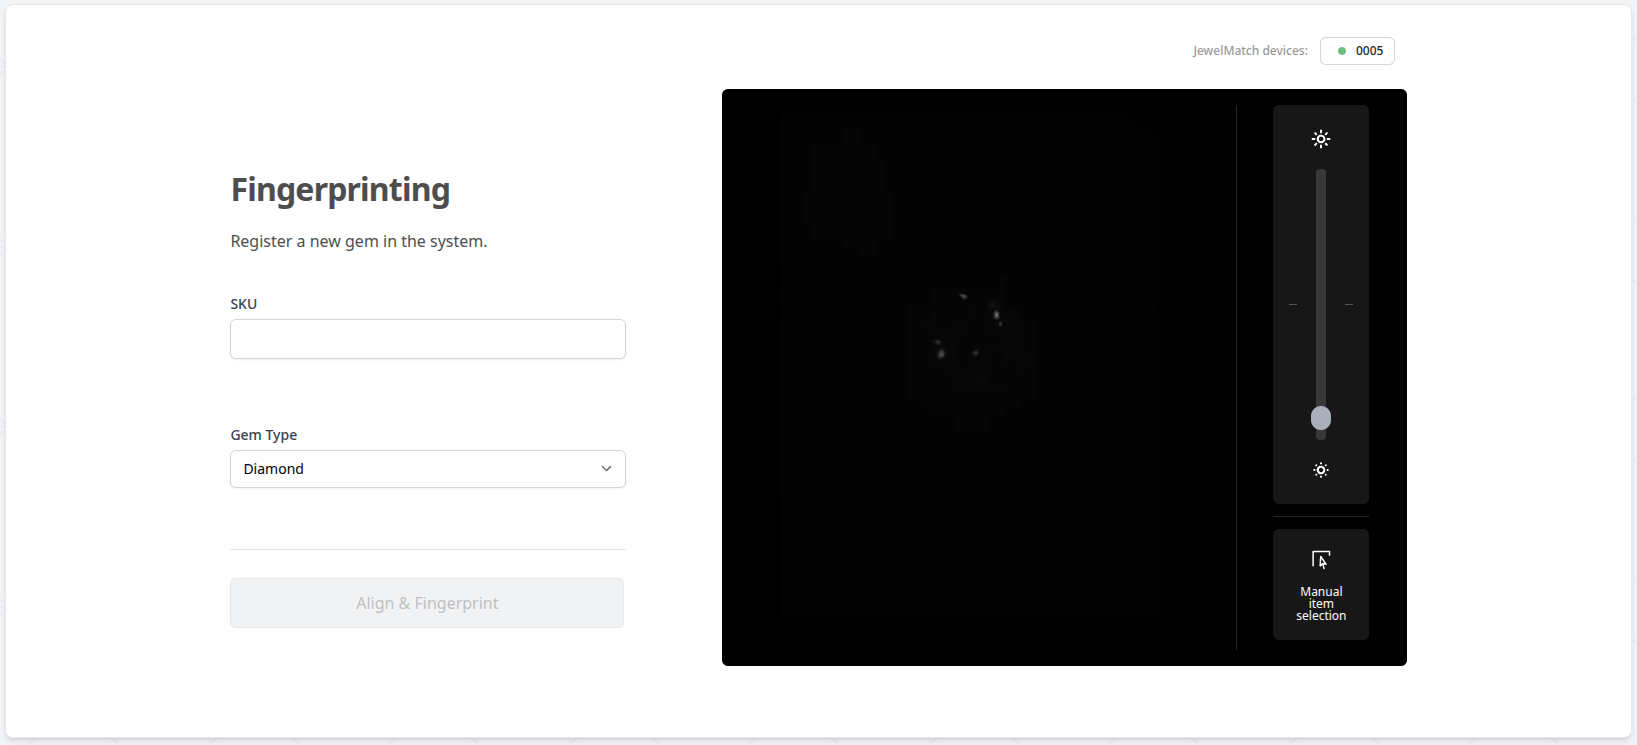
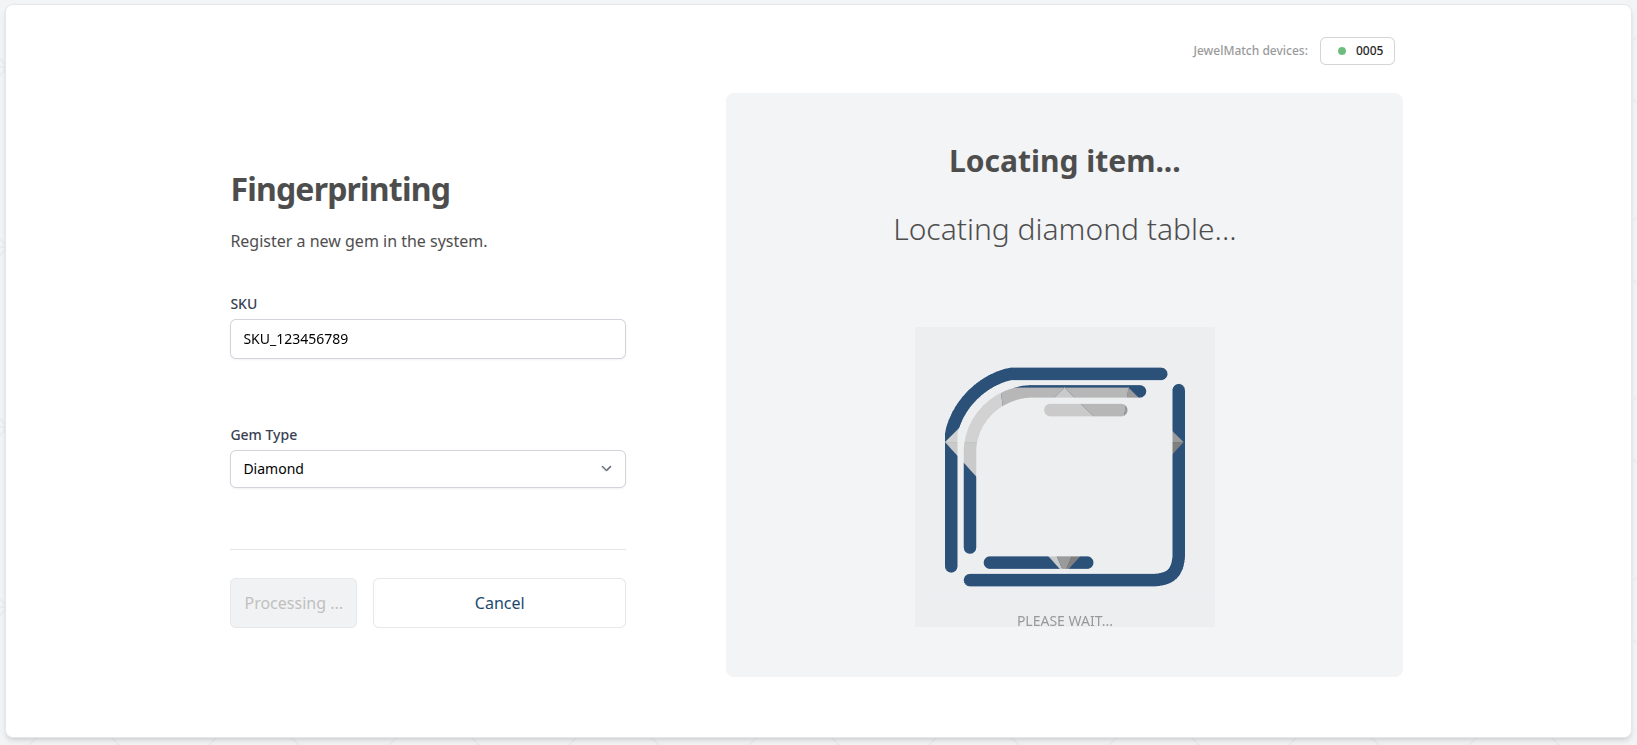
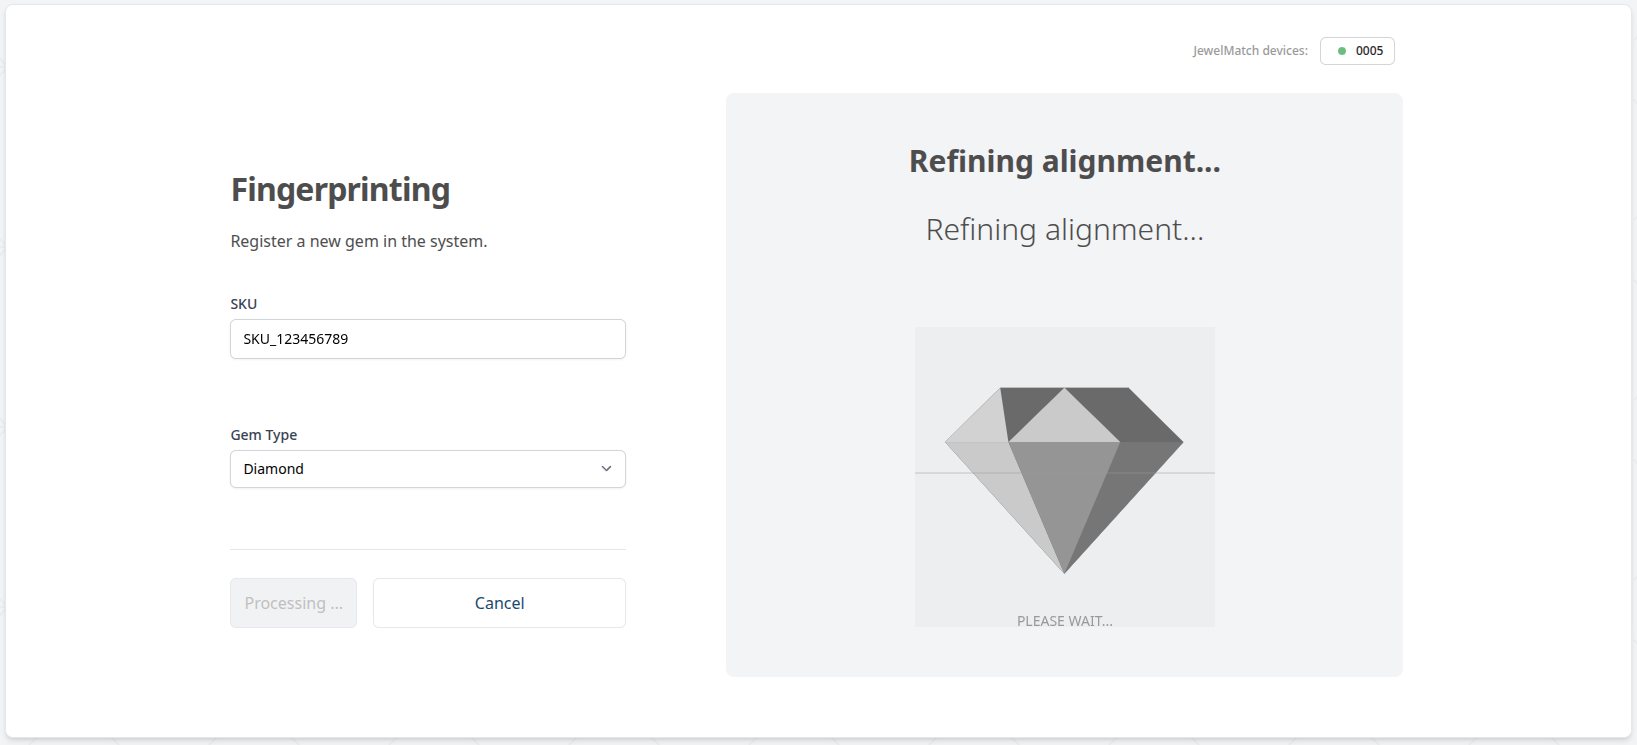
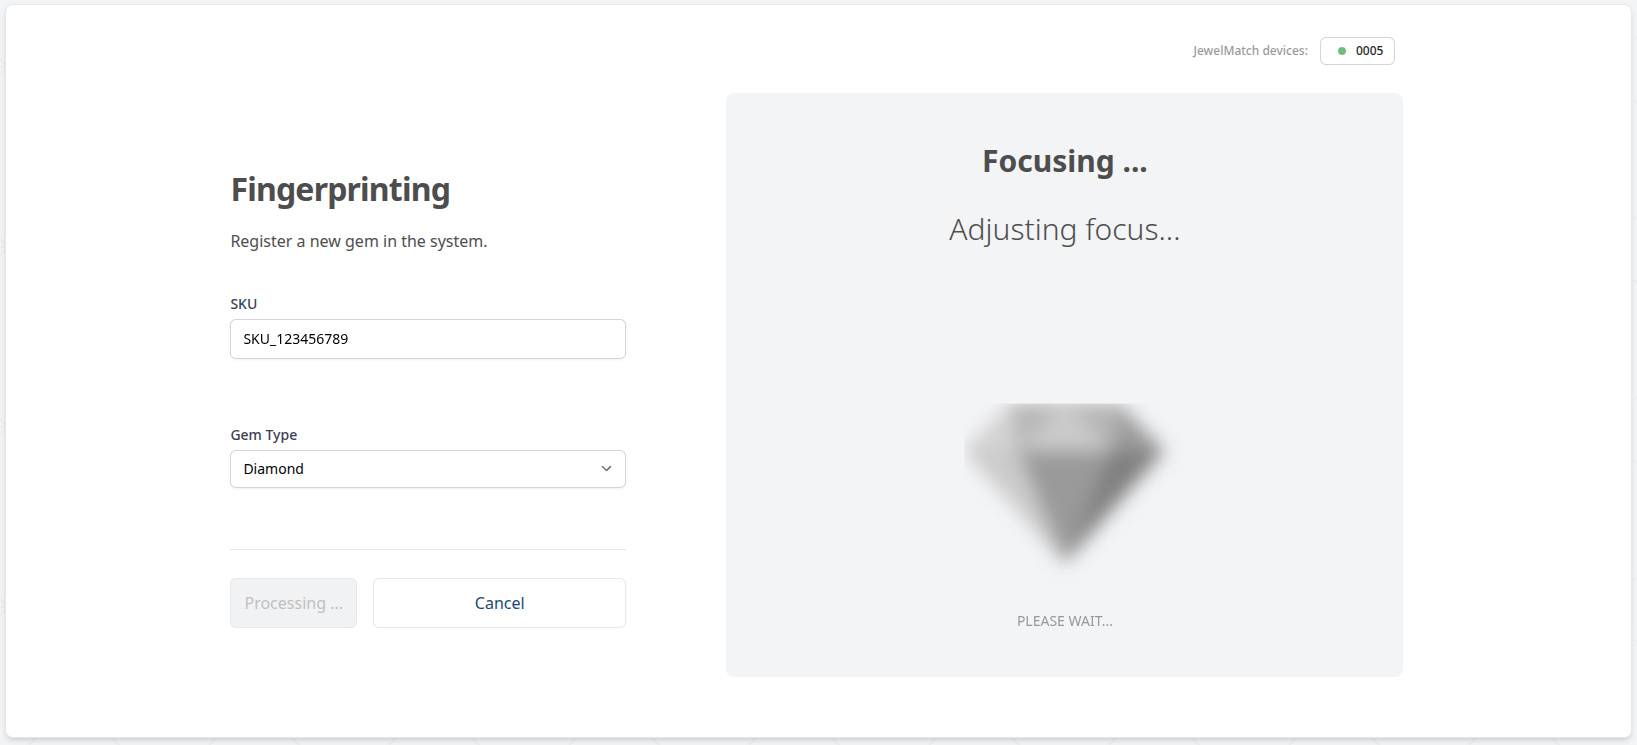
- Press the Align & Fingerprint button. This will cause the JewelMatch machine to go into the alignment stage.
Info
The JewelMatch alignment is composed of 3 stages: The locating stage, the refinement stage and the focusing stage. Relevant pictures can be seen below.
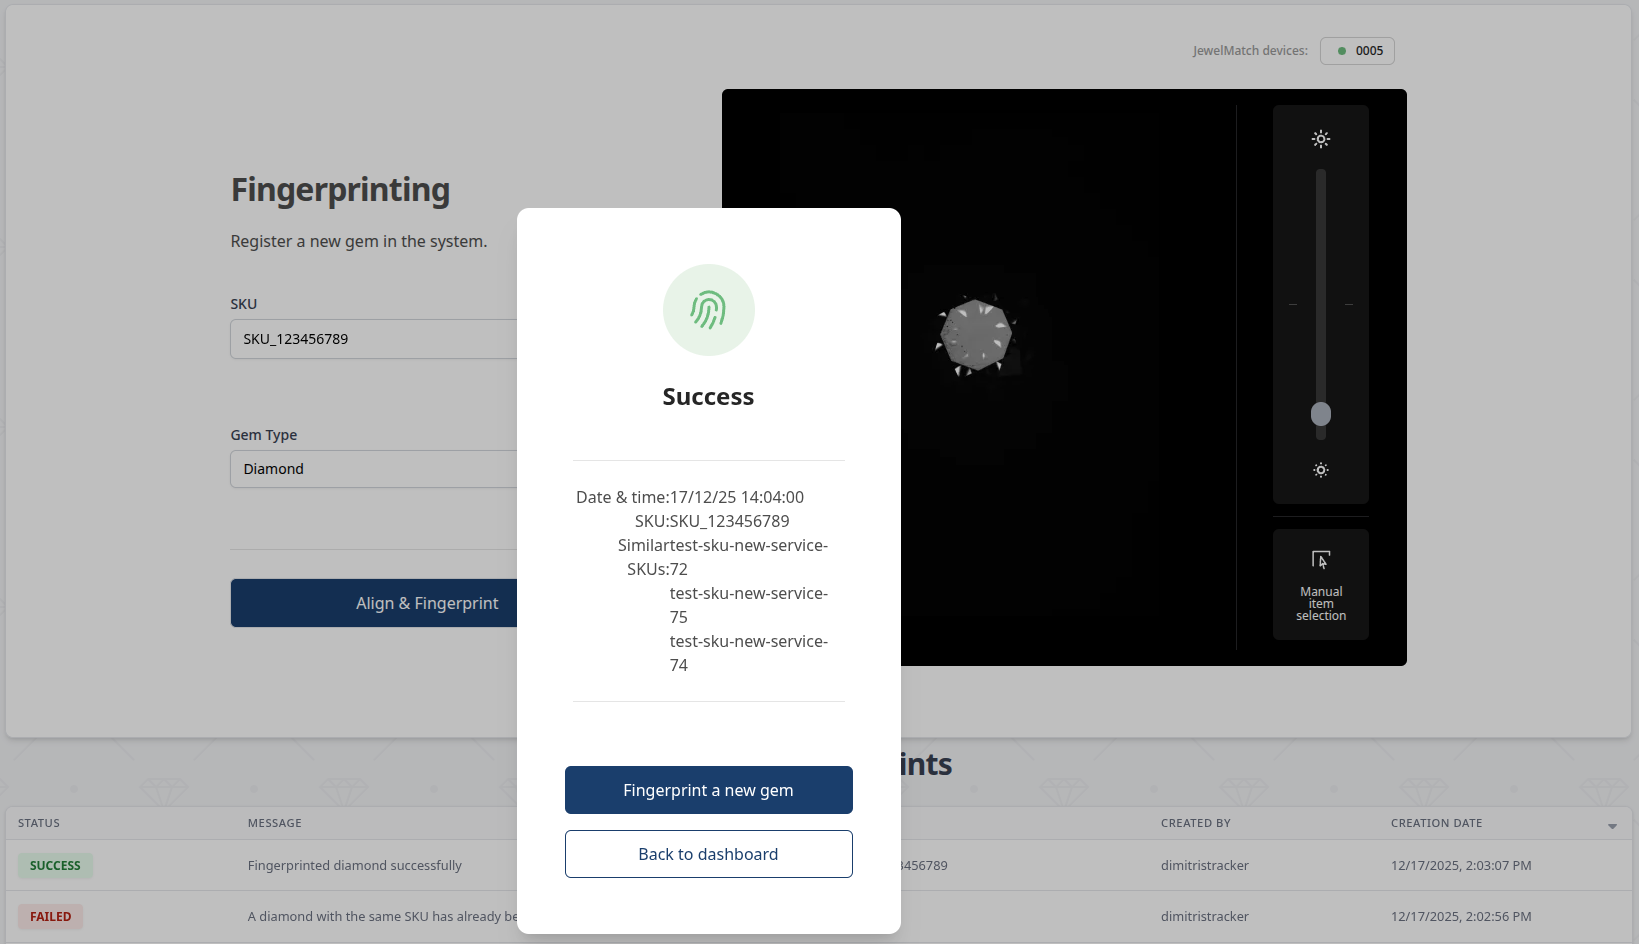
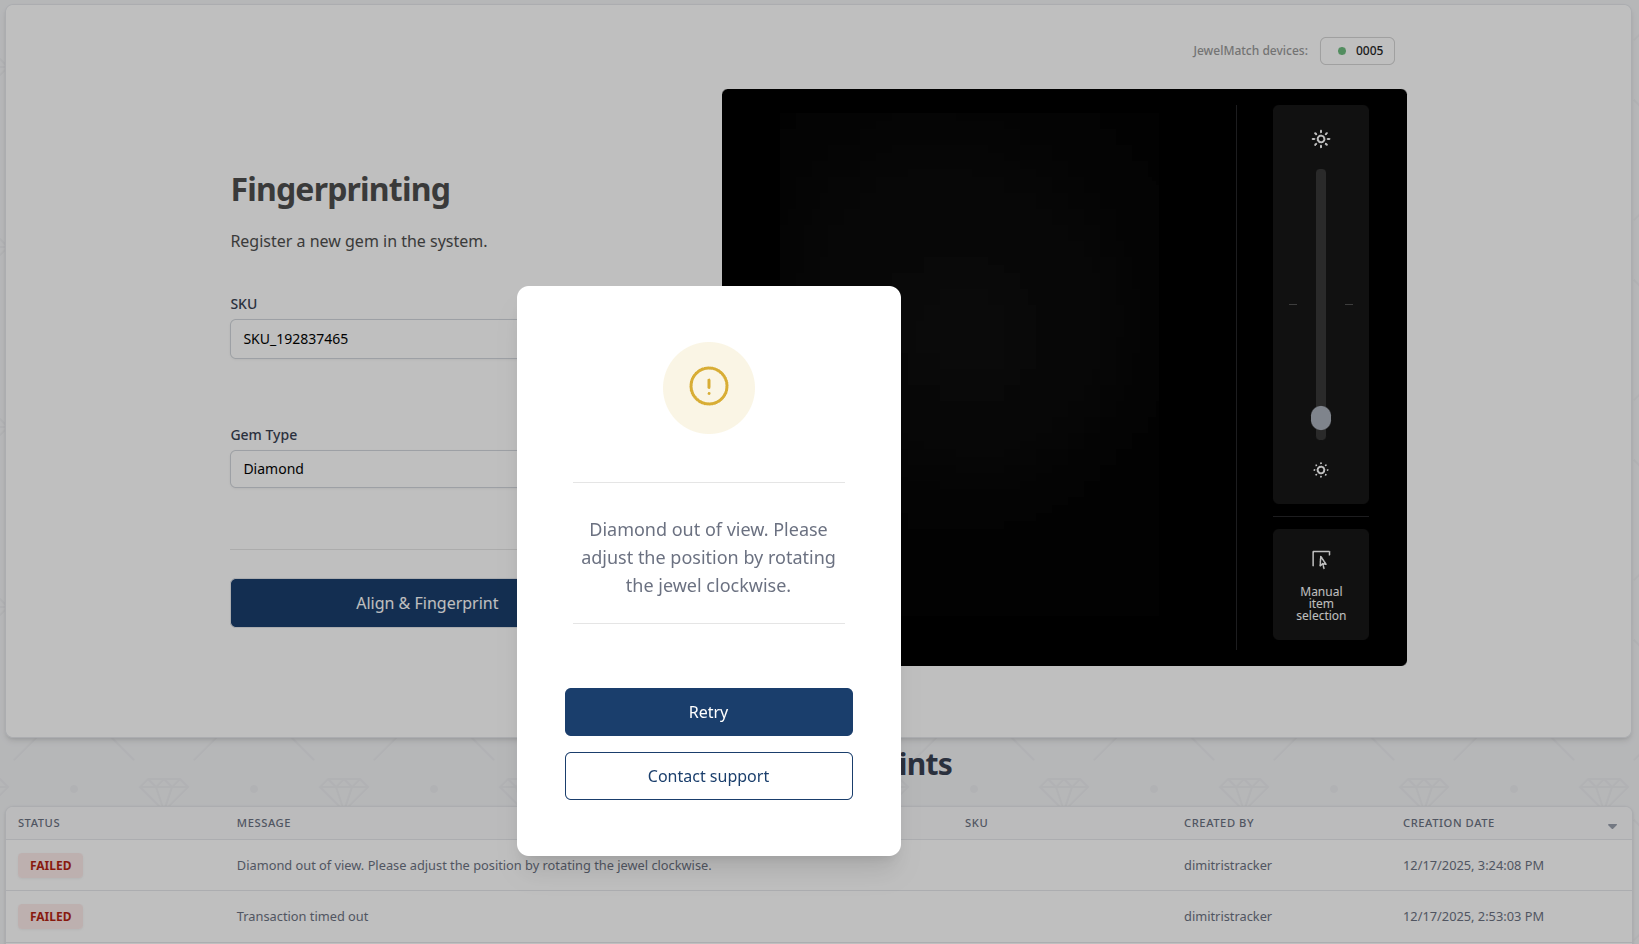
- After the alignment is complete the system will display the fingerprint result in a few seconds. If the fingerprint was correctly generated, you can remove the jewel from the device and move on to the next jewel. If the fingerprint was not successful, an error message will be displayed in the pop-up, please follow the instruction and try to fingerprint the item again.
Common failure causes are: - The gem table facet is dirty, please wipe it with a clean microfiber cloth. This issue might cause the alignment stage to fail as well. - The selected gem type is not correct, please check your selection. - The SKU is already in use and associated to another fingerprint. Please select a different SKU.
Examples of successful and failed fingerprint attempts can be found in the images below (click on an image to enlarge).
Authentication
To authenticate a diamond, click on DiamondMatch → JewelMatch → Authentication in the side bar or open this link.
Please make sure that the device is turned on and that the DiamondMatch program is running, and follow the instructions on the screen.
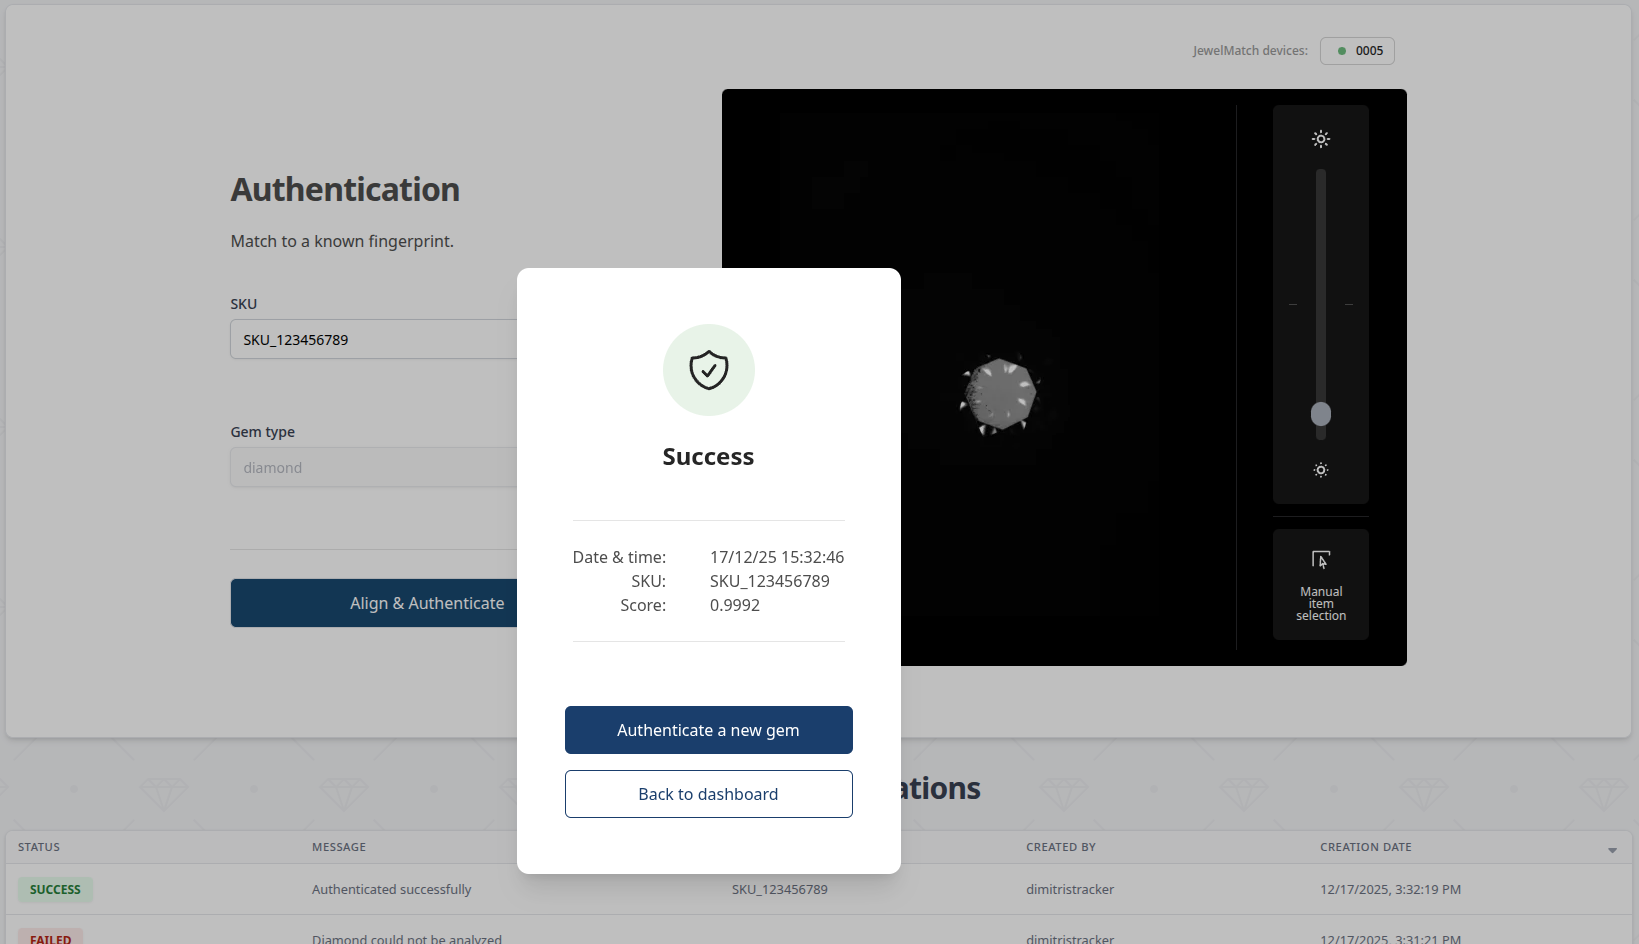
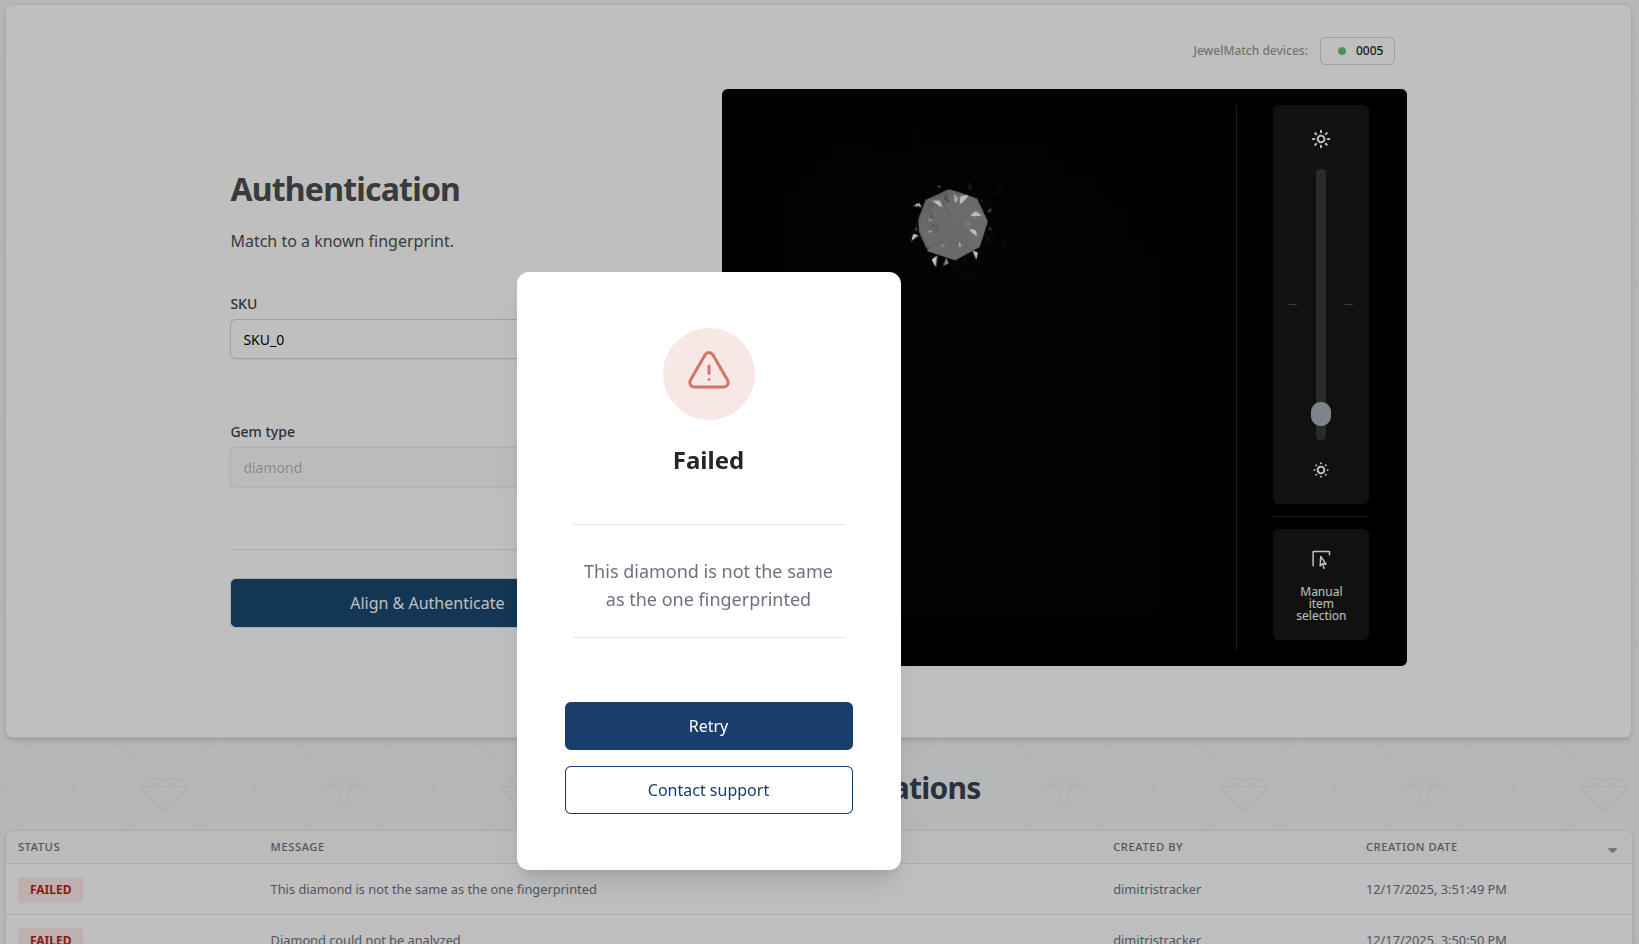
Authentication works similarly to Fingerprinting but it requires the user to fill an existing SKU. In case the SKU filled is not associated with a diamond or the diamond is not fingerprinted, the action will not become available to the user.
Authentication cannot be successful if the diamond is dirty or not visible by the camera. Examples of a correct authentication and a failed authentication can be seen in the images below.
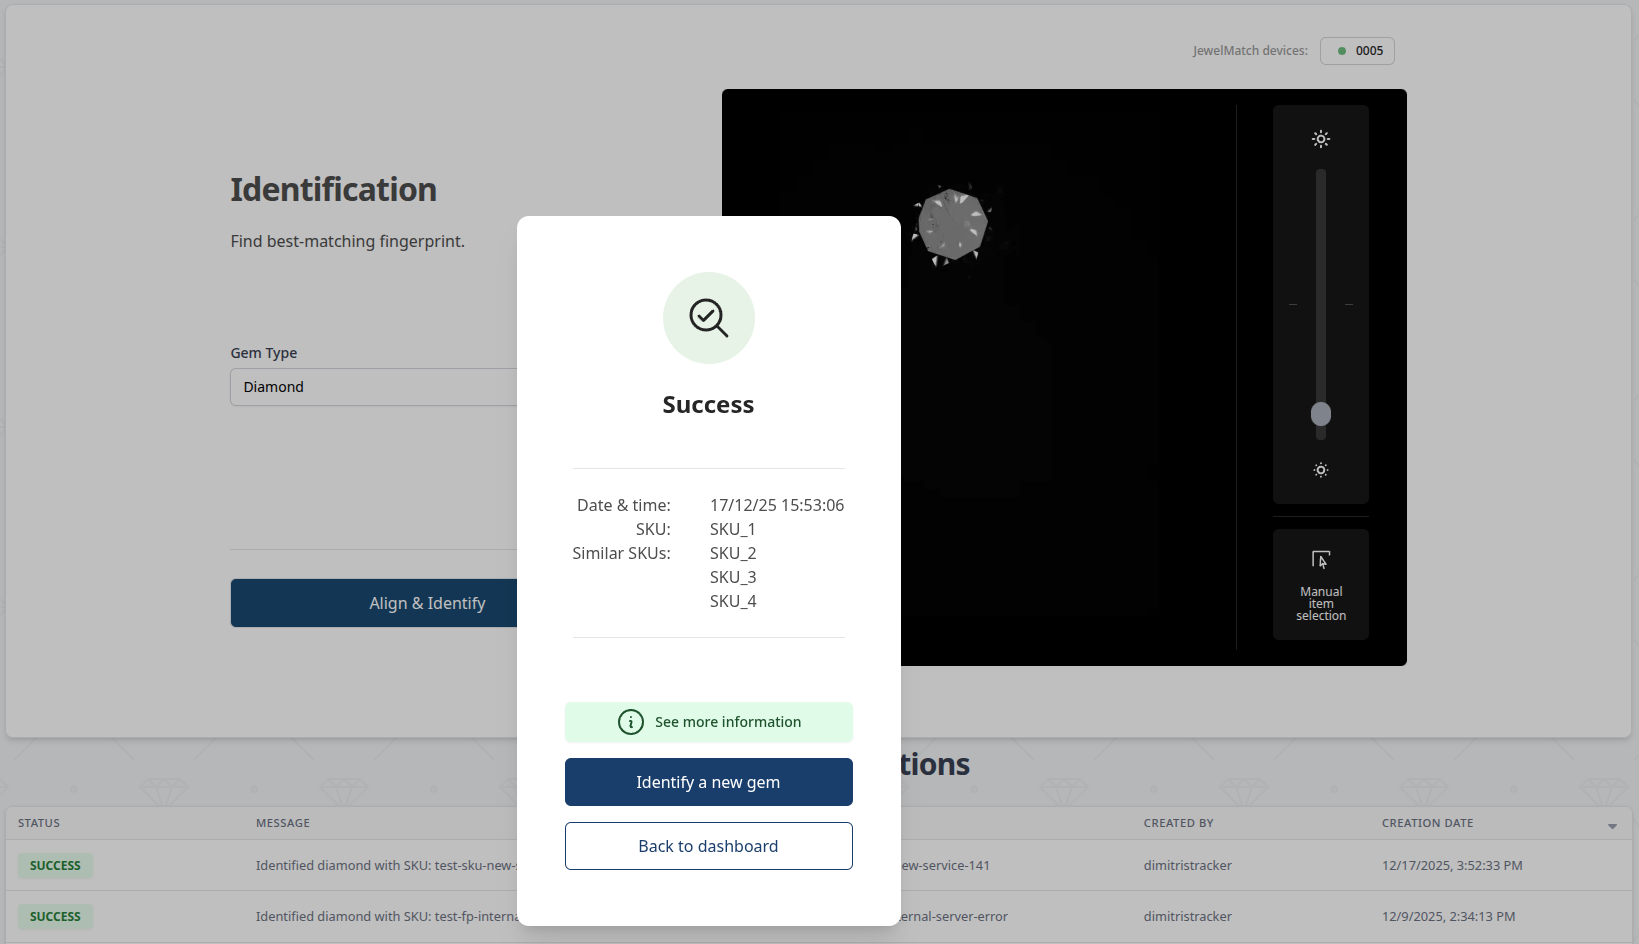
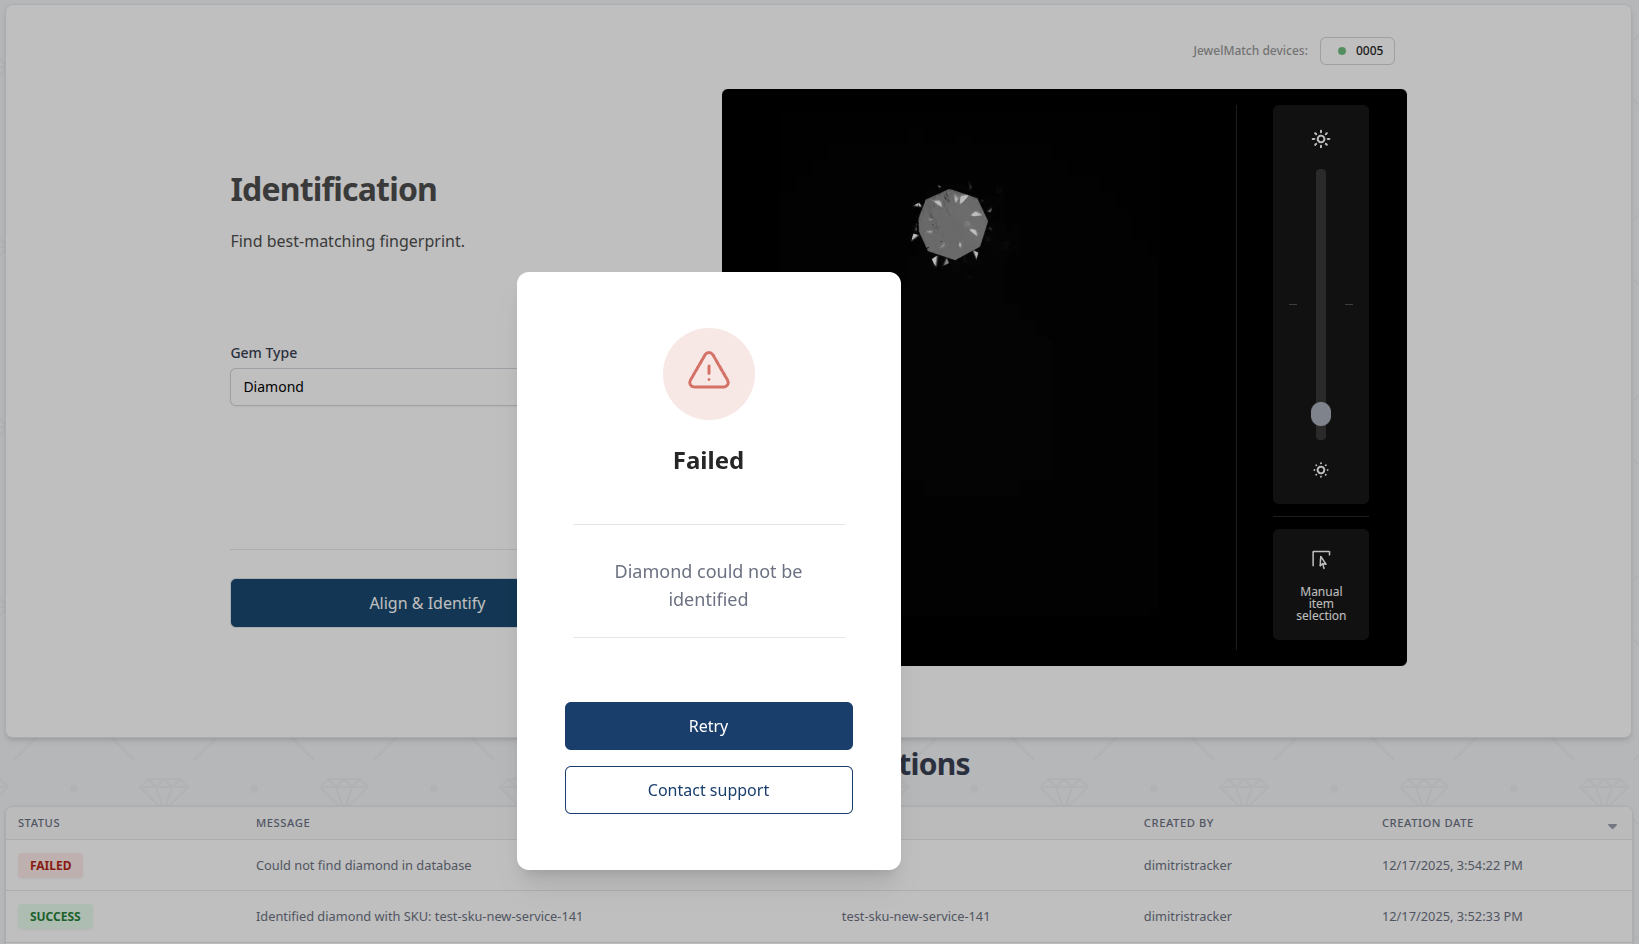
Identification
Identification simply requires the user to fill the gem type. After doing so, the user can then press the Align & Identify which will commence the alignment stage.
Info
identification usually takes longer than authentication and fingerprinting since it requires to search the whole database for a match
Examples of a successful and a failed identification can be seen in the images below.