Smartboard user manual
Installation
1. Hardware setup
It is recommended to have your Smartboard device near a power plug and with access to an ethernet cable
2. Ethernet connection
The Smartboard operates as an independent device. However, in order to allow it to connect through the DiamondTracker inventory solution, it needs to be in the same local network as the device trying to connect to it.
3. Software
The Smartboard device can be used though the DiamondTracker inventory solution but it requires the DiamondMatch service to connect to it. You can download the latest version of the service from here.
Usage
1. Connect
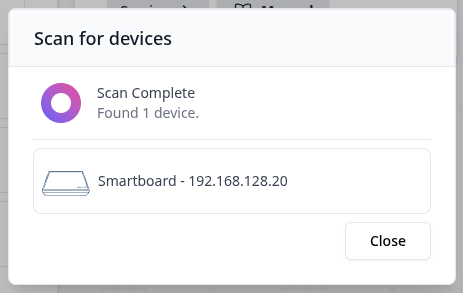
Through the Maintenance or the Dashboard page of the DiamondTracker inventory solution you can connect to your Smartboard device through the Scan Smartboards button. This will open a popup prompting you to press the Search button. Once you do, the DiamondMatch service will attempt to scan your local network in order to find your device.
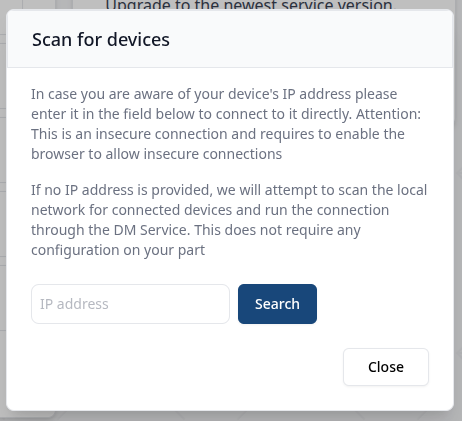
If you are already aware of the Local IP address of your device, you can instead fill it in the popup to skip having the service scanning the whole local network.
Once you connect to the Smartboard device, it will automatically reconnect if you close the DiamondMatch Service.
2. Scan
Once you have your Smartboard device connected, you can navigate to the Devices/Smartboard page. By pressing the Scan button in the upper left corner you initialize a scan from your Smartboard device. After a brief delay, assuming you have tags placed on top of it, the screen will show you all the items scanned by your device. You can them associate them with existing SKUs or create new ones.
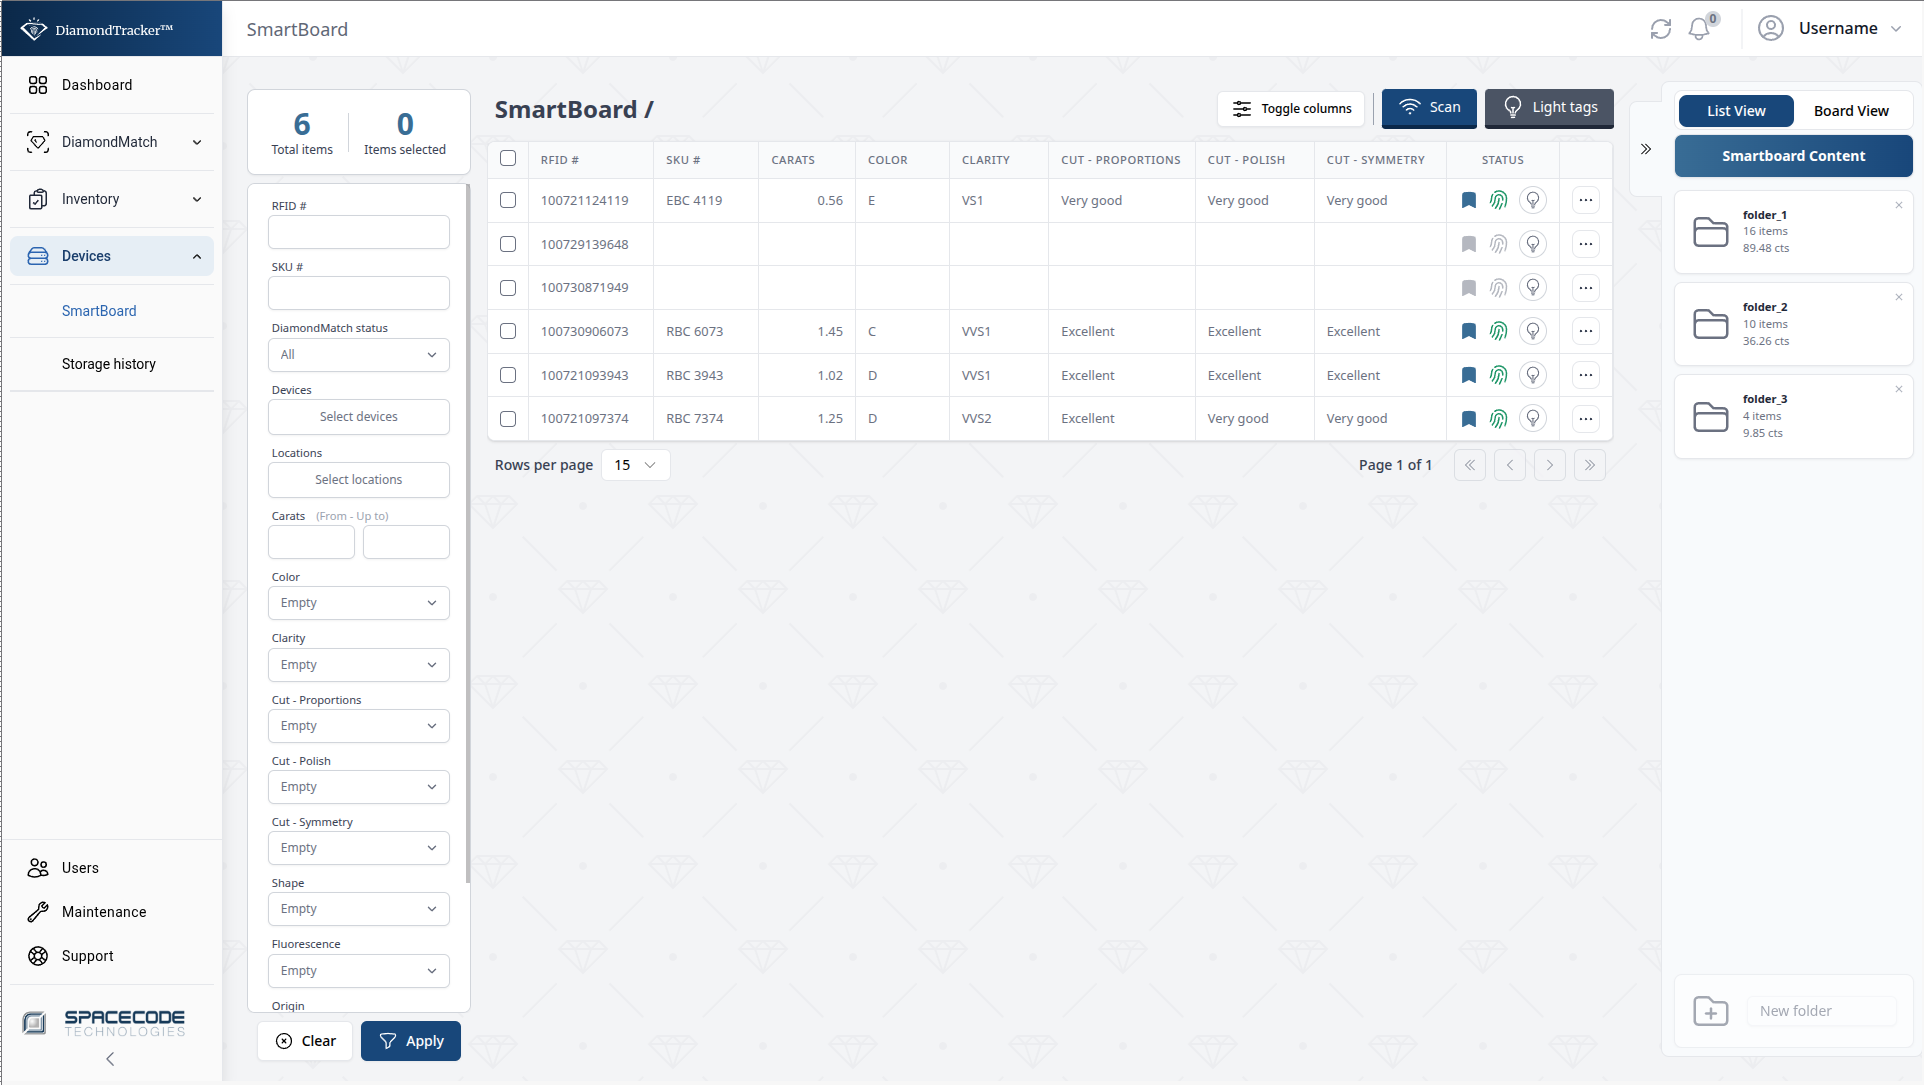
3. Pick to light
Once you have scanned the tags, you can then select any number of them for pick to light. After you select them, you can press the Light tags button which will make the Smartboard device start lighting those tags. The tags will stay lit for 10 minutes if the user does not stop the lighting action or remove them from the Smartboard device.